


🎬
Product Photography
Cinematic product shots in five clicks.
Photo → Object isolate → Background → Camera angle → 3D pivot. The complete cinematic product workflow in a guided five-step flow. Available on web and as a native Android app.
Cinematic product shots in five clicks.
Photo → Object isolate → Background → Camera angle → 3D pivot. The complete cinematic product workflow in a guided five-step flow. Available on web and as a native Android app.
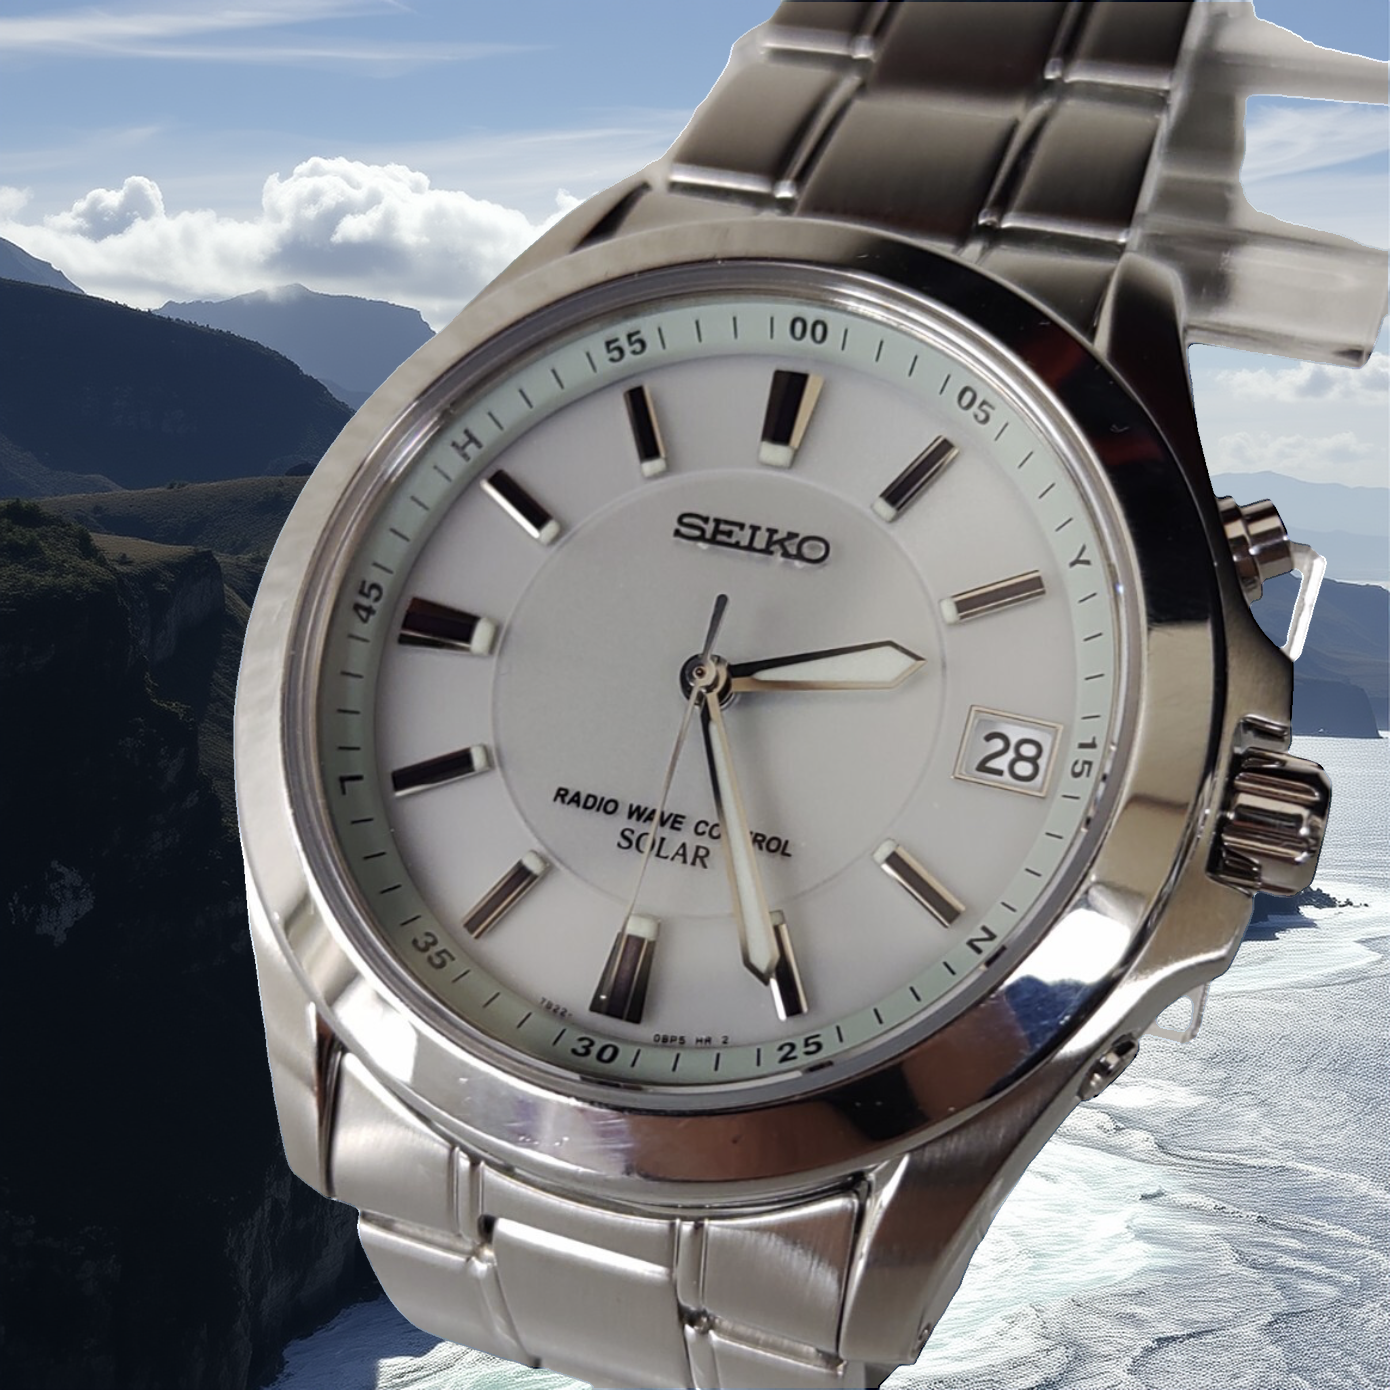
Real outputs the tool has produced. Click in to the tool to make your own.
Lensora is the consumer-facing brand of the PixelAPI cinematic stack. Try the five-step flow to see your own product photographed cinematically.
Two-minute walkthrough — exactly what to upload, what to tweak, what to expect.
Full walkthrough video lands on our channel shortly. In the meantime, the live tool is ready for you.
📺 Subscribe to PixelAPI on YouTube →Pay-as-you-go credits. No subscription required. Free credits on signup.
Sign up, get free credits, and run your first job in 30 seconds.